An efficient and properly installed new roof is a critical element of a secure, energy‐efficient home. Homeowners face challenges when replacing or installing a roof—from choosing the best materials like asphalt shingle or metal (steel, stainless steel) to complying with local building codes and managing costs. This article provides an overview of essential pre‐installation steps, the installation process, cost factors, warranty details, and post‐installation maintenance. Following these guidelines helps ensure a durable, leak‐free roof installation that maximizes home protection and value.
The guide is designed to inform and assist homeowners through every stage of roof installation. It covers selecting the right roofing material and contractor, the step-by-step installation process, cost breakdowns including labor and permit fees, warranty and financing considerations, and maintenance best practices. By integrating practical advice and relevant examples, the guide helps homeowners make informed decisions and avoid common pitfalls.
What Are the Essential Pre-Installation Steps for a New Roof?
Before installation begins, several pre-installation steps are vital to ensure success and long-term performance. Homeowners must plan carefully by selecting appropriate materials, obtaining the required permits, and hiring qualified professionals. These steps help prevent future damage and ensure compliance with local standards.
How Do You Choose the Right Roofing Material for Your Home?
The foundation of a durable roof is choosing the correct material. Factors to consider include local weather patterns, architectural style, and budget. For instance, asphalt shingles offer affordability and ease of installation, while metal roofing—whether steel or stainless steel—provides superior durability and energy efficiency. Evaluate each option’s longevity, maintenance needs, and aesthetic appeal. Consider environmental factors such as hail frequency, snow loads, and wind resistance, and also note that some materials may lower home insurance premiums. Consult local roofing contractors for quotes to match both style and performance.
What Permits and Regulations Must You Obtain Before Installation?
Adherence to permits and building regulations is mandatory. Local codes ensure safety and environmental compliance. Homeowners should review municipal websites or contact building authorities to determine the necessary permits, which may include building, electrical, or environmental impact assessments. Providing detailed plans is essential; failure to secure permits can result in fines, delays, or complications when selling the home. Thus, thorough research and consultation with contractors and inspectors are advisable.
How Do You Select a Qualified Roofing Contractor?
A qualified roofing contractor is key to a quality installation. Look for professionals with proven experience in the chosen roofing material by checking reviews, references, and verifying licenses and insurance. A good contractor offers detailed written estimates, explains insulation and ventilation requirements, and provides a clear roadmap of the installation process—from tear-off to shingle laying. Interview several contractors and request comprehensive proposals to ensure the best fit.
Why Is a Roof Inspection Important Before Installation?
A pre-installation roof inspection identifies structural issues that might affect the new roof’s performance. Professionals examine the existing decking, flashing, and insulation to detect rot, mold, or prior water intrusion. Addressing these issues early can prevent future repairs and avoid extra costs. Additionally, an inspection documents the roof’s condition, benefiting warranty and insurance claims. This careful evaluation ensures that the new roof is built on a solid foundation.
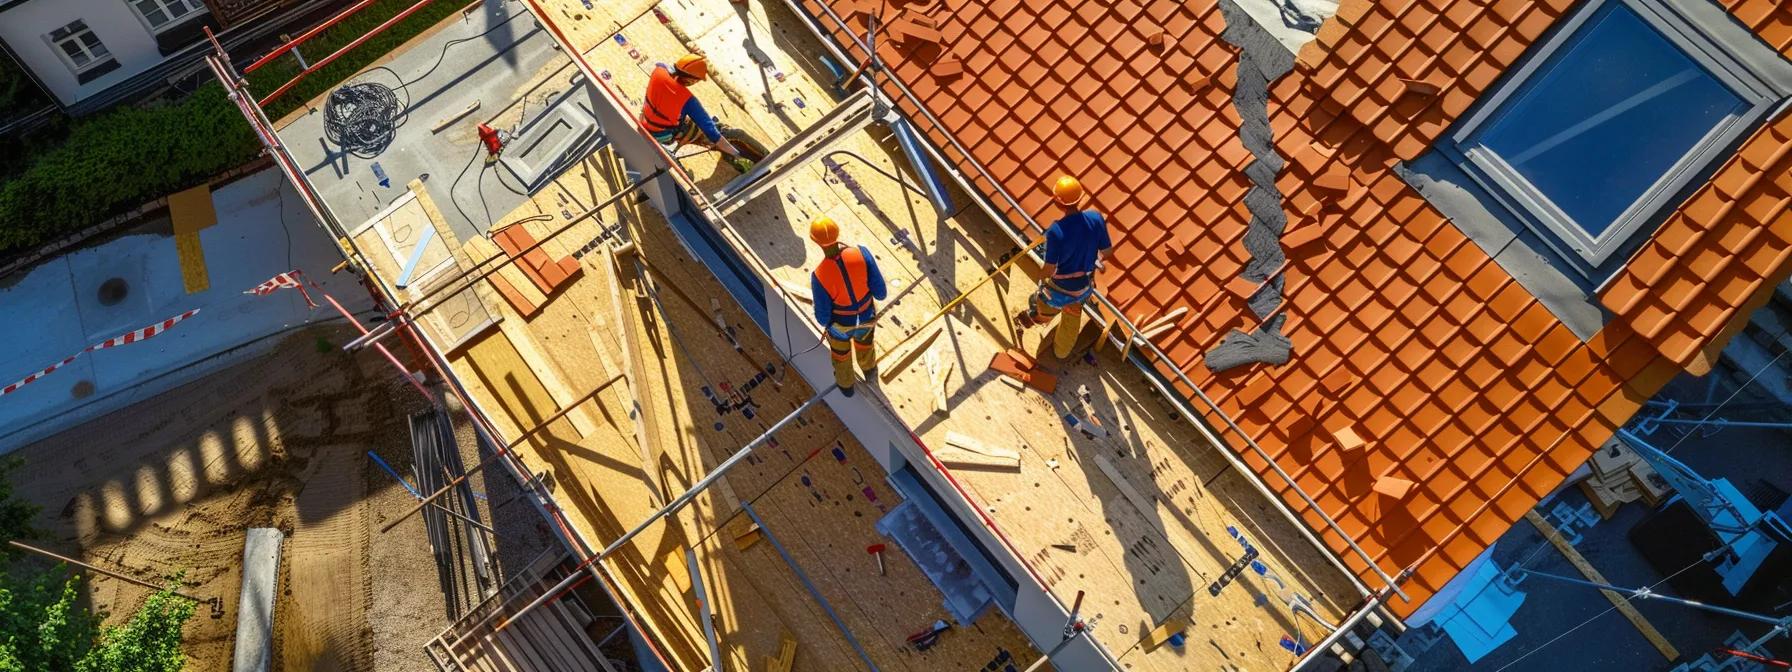
What Are the Step-by-Step Procedures in the New Roof Installation Process?
A clearly defined step-by-step installation process helps manage expectations and ensures high performance and longevity. The process typically includes comprehensive preparation and inspection, removal of old materials, deck preparation, underlayment installation, shingle laying, flashing, ridge cap installation, and final cleanup and inspection.
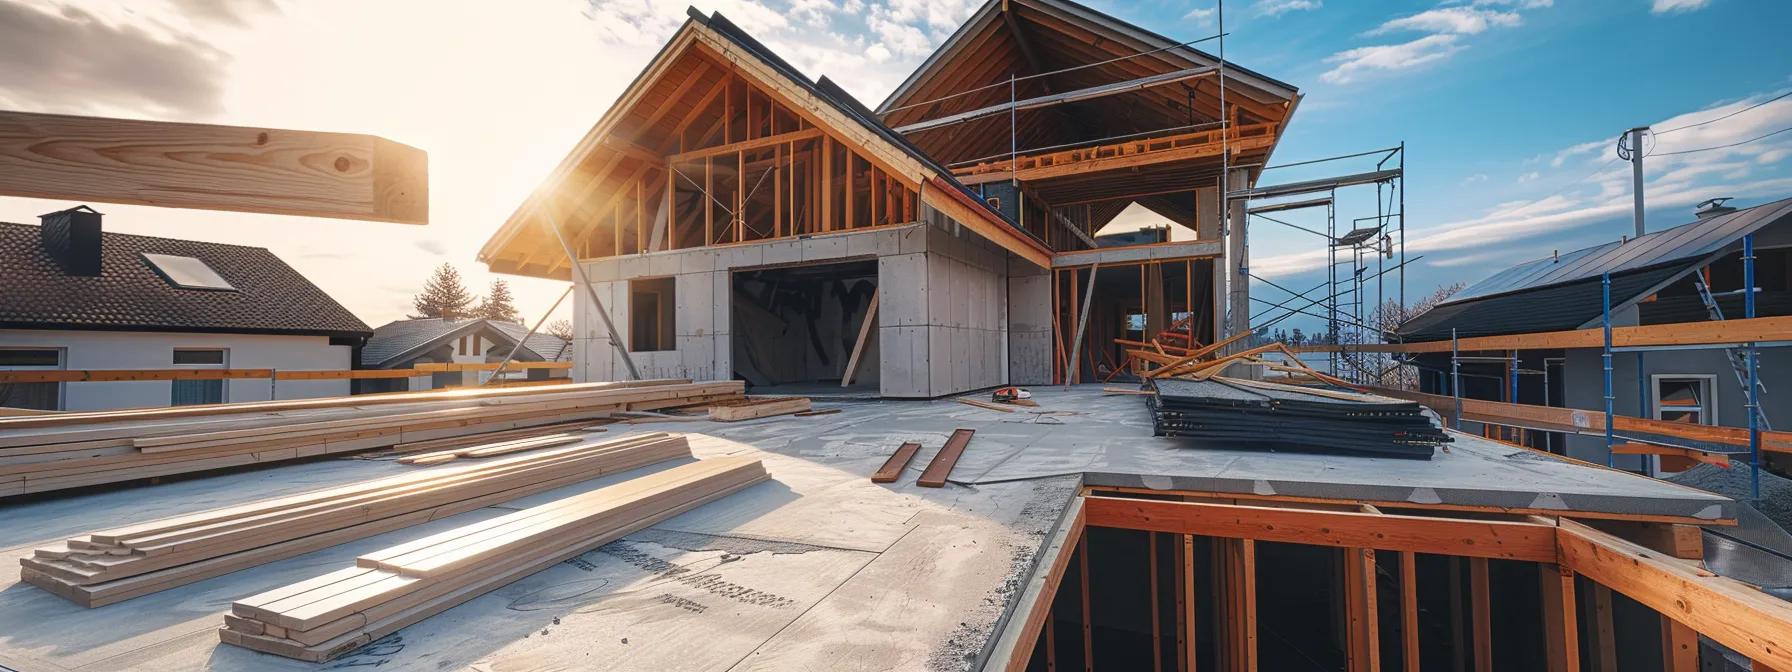
How Is the Roof Prepared and Inspected Before Installation?
Preparation begins with stripping off the old roofing to expose the decking. The exposed surface is then inspected for rot, water damage, or structural inconsistencies. Any debris, nails, or fasteners are removed and moisture tests may be conducted. This phase is critical for determining whether repairs or decking replacement are necessary before proceeding.
What Does the Roof Tear-Off and Decking Inspection Involve?
During the tear-off phase, all old materials—including shingles, underlayment, and damaged flashing—are removed using specialized equipment. Contractors then inspect the decking to identify any damaged or rotted sections that require repair. This phase also offers the chance to improve insulation or add additional underlayment if needed, with proper disposal practices maintained throughout.
How Is the Underlayment Installed and Why Is It Important?
Underlayment installation involves rolling out a protective barrier—using synthetic or tar paper—over the decking. This layer is secured with nails or staples and overlapped properly to serve as a secondary defense against water infiltration and wind-driven rain. A well-installed underlayment prolongs the roof’s lifespan and minimizes the risk of leaks during severe weather.
What Are the Best Practices for Shingle Installation?
Shingle installation requires precision and attention to detail. Starting from the bottom, each row of shingles must overlap correctly to channel water off the roof. High-quality adhesive and fasteners secure the shingles, and extra care is given to areas near chimneys, vents, and skylights. Proper ventilation during installation helps prevent moisture buildup in the attic.
How Is Flashing Installed to Prevent Leaks?
Flashing, a thin metal strip, is installed around roof intersections, valleys, and penetrations (such as chimneys and skylights) to direct water away from vulnerable areas. It is placed under shingles and over roof seams with weather-resistant sealant applied to prevent gaps. Regular inspections ensure flashing remains intact and effective even during high winds or heavy rainfall.
What Is the Role of Ridge Caps and Ventilation in Roof Installation?
Ridge caps are installed at the roof’s peak to offer additional protection against wind and water infiltration while providing a finished look. They work in tandem with proper ridge ventilation, which facilitates airflow in the attic, reducing heat and moisture buildup. This enhances the roof’s durability, lowers energy bills, and helps prevent issues like ice dam formation in colder temperatures.
How Should Cleanup and Final Inspection Be Conducted?
After installation, cleanup involves removing all debris, nails, and leftover materials from the site. A final inspection, often done with the homeowner, ensures that every component—from flashing to ridge caps—meets the contractor’s standards and local codes. This conclusive review confirms a safe, well-installed roof and provides documentation for warranties and future maintenance.
This section reiterates the comprehensive process, from initial preparation and tear-off to final inspection. The installation follows manufacturer guidelines and local codes, ensuring a multi-layered barrier against weather and structural damage. By documenting each phase, homeowners benefit from clear records for warranty claims and insurance. The installation process typically spans one to three weeks and involves close coordination among contractors, inspectors, and homeowners.
To summarize the key phases:
How Much Does a New Roof Installation Cost and What Factors Affect Pricing?
Roof installation costs vary based on material quality, labor rates, permit fees, and other expenses. Understanding this breakdown helps homeowners budget appropriately.
What Are the Typical Material Costs for Different Roofing Types?
Material costs differ among roofing types. Asphalt shingles, for example, are generally low-cost—around $100 to $150 per square (100 square feet). Metal roofs, which include options like steel and stainless steel, tend to be more expensive but offer greater durability, while premium materials like tile or slate can exceed $400 per square. Factors such as regional material availability and any customization also affect these prices.
How Do Labor Costs Influence the Total Installation Price?
Labor is a significant part of roof installation, often constituting 40% to 60% of the total cost. The complexity of the roof’s design (such as multiple slopes or dormers) and the contractor’s experience impact these labor costs. Detailed labor estimates enable homeowners to compare local rates and ensure quality workmanship.
What Permit Fees and Additional Expenses Should You Expect?
In addition to materials and labor, permit fees (ranging from $100 to $1,000) and costs related to debris removal, insulation upgrades, or emergency repairs can add to the overall expense. Homeowners should check with local authorities to plan for these additional costs and budget accordingly.
Are There Financing Options Available for Roof Installation?
For many, a new roof is a significant investment. Financing options such as home improvement loans, home equity loans, and in-house plans offered by roofing companies can help spread the cost over time. Homeowners should compare several financing options to find terms that offer low interest rates and flexible repayment.
What Should You Know About Roofing Warranties and Guarantees?
Roofing warranties and guarantees provide protection against defects in materials and workmanship. Understanding these warranties is essential to long-term satisfaction and minimizing unexpected repair expenses.
What Coverage Do Material Warranties Provide?
Material warranties cover defects in the roofing products. For example, quality asphalt shingles typically come with warranties of 20 to 50 years, while metal, tile, or slate may offer up to 100 years under ideal conditions. Homeowners must follow maintenance guidelines to keep these warranties valid.
How Do Workmanship Warranties Protect You?
Workmanship warranties, offered by contractors, cover installation errors such as improper shingle alignment or poor flashing. These warranties usually last 5 to 10 years. Homeowners should obtain a written warranty and ensure the contractor is bonded and insured.
How Can You File a Warranty Claim if Issues Arise?
If problems occur, document the damage with photos and written descriptions and contact the contractor or manufacturer immediately. Following the warranty claim procedure, which may include a professional inspection, helps secure necessary repairs or reimbursement.
How Do You Maintain and Inspect Your New Roof After Installation?
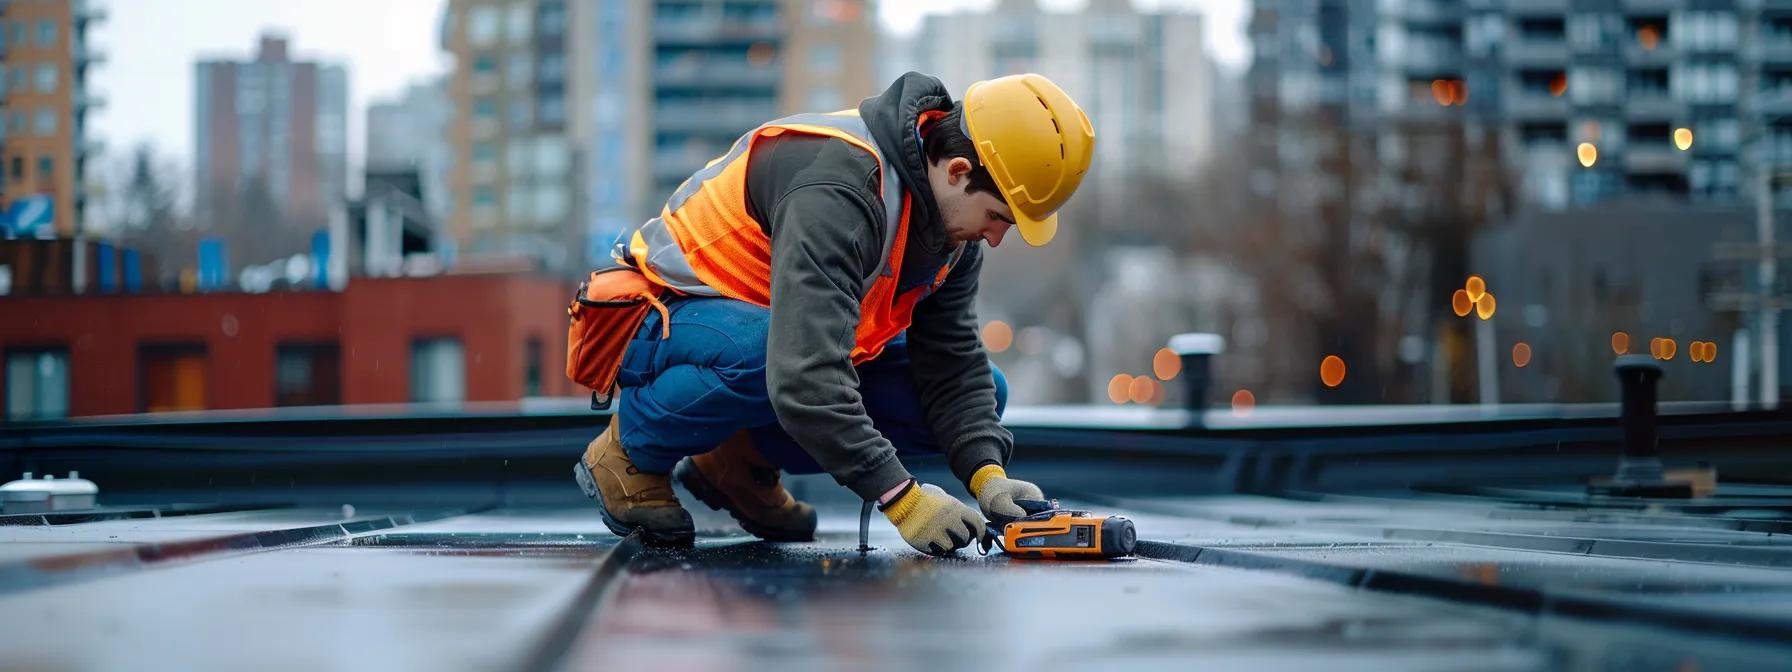
Regular maintenance and inspections extend a roof’s life. Routine checks help catch minor issues before they become costly problems. Establish a maintenance schedule to ensure the roof consistently performs at its best.
How Often Should You Schedule Roof Inspections?
It is recommended to have a professional roof inspection at least once a year—ideally in early fall or late winter. Additionally, inspections should follow severe weather events like hailstorms or high winds. Regular inspections assist in documenting the roof’s condition for warranty or insurance purposes.
What Are the Best Practices for Roof Cleaning and Maintenance?
Effective roof cleaning involves removing debris, moss, and leaves while using low-pressure washing and soft-bristle brushes to avoid damage. Cleaning gutters is also crucial because clogged gutters can lead to water backup and roof leaks. Periodically applying eco-friendly cleaning solutions helps maintain the roof’s appearance and performance.
How Can You Identify Early Signs of Roof Damage?
Early roof damage may manifest as curling, cracking, or blistering shingles, water stains on ceilings, or damaged flashing. Visual inspections—sometimes aided by binoculars or professional tools like moisture detectors—ensure minor issues are promptly addressed, preventing major structural damage.
What Are the Different Types of Roofs and Their Installation Considerations?
Different roofing types vary in performance, installation complexity, and cost. Homeowners must choose a type that best fits their climate, budget, and architectural style. Common options include asphalt shingles, metal roofing, and tile roofing.
What Are the Advantages and Disadvantages of Asphalt Shingles?
Asphalt shingles are popular for their affordability, ease of installation, and versatility. However, they may only last 20 to 30 years and are more susceptible to damage from extreme heat, wind, and hail. They may also require periodic cleaning to prevent algae growth.
How Is Metal Roofing Installed and What Are Its Benefits?
Metal roofing is installed over a solid deck with underlayment, and panels are secured with specialized fasteners. Metal roofs can last 40 to 70 years, offer excellent fire and wind resistance, and are energy efficient. Despite higher initial costs, their longevity and low maintenance needs can result in long-term savings.
What Should You Know About Tile Roofing Styles and Maintenance?
Tile roofing, available in clay or concrete, provides a distinct aesthetic and excellent durability. Installation requires a reinforced deck and careful spacing for natural water runoff. While tile roofs can last over 50 years, they are more expensive and labor-intensive to install and maintain, especially when checking for cracked or broken tiles.
What Are the Local Permit Requirements and Building Codes for Roof Installation?
Compliance with local permits and building codes is essential for safety and future resale value. Local regulations guide material selection, flashing types, and overall roofing practices.
How Do Local Building Codes Affect Your Roof Installation?
Local building codes set minimum standards for structural support, insulation, and ventilation. They may mandate certain materials or installation methods in areas prone to hurricanes, heavy snowfall, or other weather extremes. Compliance helps ensure safety and energy efficiency.
What Is the Permit Application Process for New Roofs?
The permit process involves submitting detailed construction plans to local authorities, sometimes supported by an engineering report. Once approved—a process that can take from several weeks to months—the permit must be visibly posted on the property during construction, ensuring adherence to safety standards.
What Inspections Are Required During and After Installation?
Inspections occur at multiple stages: pre-installation, mid-project (to check underlayment, flashing, etc.), and post-installation. Local officials or third-party inspectors verify that all work meets building codes and quality standards, with documentation maintained for future warranty and insurance claims.
How Do You Maintain and Inspect Your New Roof After Installation?
Ongoing care is key to long-term roof performance. Regular maintenance and timely inspections help prevent minor issues from evolving into major problems.
How Often Should You Schedule Roof Inspections?
A professional inspection should occur annually, ideally in seasons that follow extreme weather events. This proactive approach not only ensures the roof remains in good condition but also aids in effective warranty and insurance documentation.
What Are the Best Practices for Roof Cleaning and Maintenance?
Maintain your roof by routinely clearing debris, cleaning gutters, and checking for any loose shingles or compromised flashing. Use gentle cleaning methods and eco-friendly solutions to preserve the integrity of materials such as asphalt shingle or metal panels.
How Can You Identify Early Signs of Roof Damage?
Look for visual indicators like curling or cracked shingles, water stains on interior walls, sagging deck areas, or rusted flashing. Early identification through regular inspections, sometimes supported by thermal imaging tools, can reduce repair costs and prevent further damage.
Frequently Asked Questions
Q: How long does a typical roof installation take? A: Most installations take one to three weeks, depending on roof complexity, weather conditions, and material choice. Unexpected repairs or permit delays may extend this timeline.
Q: Can I install a new roof over an existing one? A: In some cases, yes. However, many professionals recommend a complete tear-off to inspect the decking and prevent moisture entrapment, which can lead to future damage.
Q: What maintenance tasks can I do myself, and when should I call a professional? A: Homeowners can clean gutters, remove debris, and perform basic visual inspections. For significant structural issues or persistent leaks, it is best to call a professional roofing contractor for a comprehensive evaluation.
Q: How do financing options work for roofing installations? A: Financing options include home improvement loans, home equity loans, and in-house plans offered by roofing companies. These help spread the high upfront cost over time, often with competitive terms and flexible repayment schedules.
Q: What should I do if my roof shows signs of damage shortly after installation? A: Contact your contractor immediately to file a warranty claim. Document damage with photos and detailed notes, and keep records of all communications to ensure the issue is resolved under the workmanship or material warranty.
Q: Are there energy-efficient roofing options available? A: Yes. Options such as metal roofs and specially designed reflective asphalt shingles can help lower cooling costs and enhance your home’s energy efficiency. Some roofing systems also integrate with solar panels.
Q: What impact do local building codes have on the roof installation process? A: Local codes dictate material selection, installation methods, and permit requirements, ensuring that your roof meets safety and performance standards. Consulting experienced contractors helps ensure full compliance, which is important for insurance and future resale.
Final Thoughts
A well-executed roof installation not only protects your home but also enhances its value and energy efficiency. Following detailed pre-installation preparations, a structured installation process, and consistent maintenance practices ensures a durable, high-performing roof that stands up to severe weather and time. Understanding cost factors, warranty conditions, and local building requirements keeps every detail in check for a seamless project outcome. Staying informed and proactive is the key to long-term roof success.